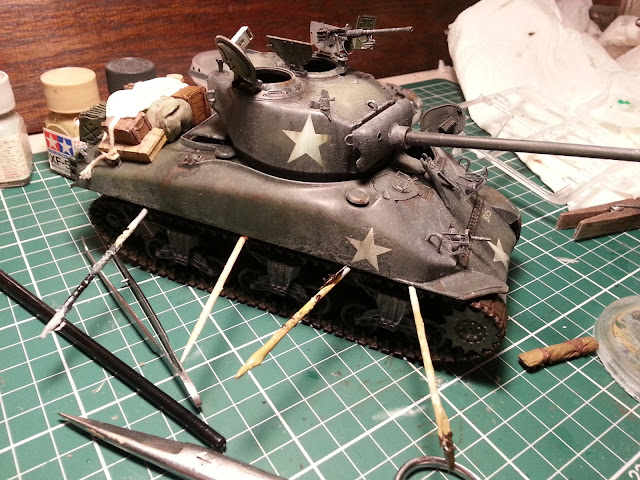
In my last post on the Sherman I had just added the stowage and tarp (link here). Now it's time to make that manky damp tissue look real. Bring on the paint!
But before that, I noticed that the elastic band style tracks were curving above the rollers on top - real metal heavy tracks don't sit above the rollers. So I glued them down and left toothpicks in overnight to keep them sitting properly. It's a small thing, but that kind of little oversight will be enough to consciously or subconsciously mess with viewers' perception of your final diorama, and ruin that carefully constructed sense of realism you've worked so hard to achieve. It's worth correcting.
 |
| It doesn't look pretty, but it will do the job. |
 |
| Much better than having tracks floating 2-3mm above those rollers. |
Then it was time to paint the tarp. I mixed up a custom colour, a mix of Tamiya Olive Drab and Desert Yellow. The plain Olive Drab by itself was just a bit too dark.
Here it is after a first coat. I was already able to introduce some lighter highlights and darker shadows, purely because as I mixed my colours together there were natural variations in the tone, and I moved to appropriate areas when painting based on the tone I had just mixed.
 |
| Nothing special yet. |
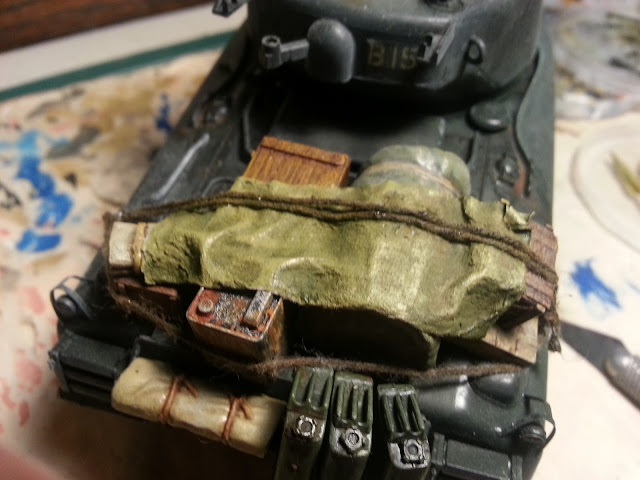
You can see how the ropes across the tarp have taken on a green tone. I diluted the colour a lot so that it would soak into the tissue, and made covering it easier. But it did mean the colour soaked into the guy ropes as well. Easily fixed.
 |
| Getting there. I'm happy with the shade of green. |
 |
| Highlights have been drybrushed on. |
Finally, I used highly diluted Vandyke Brown oil paint to darken the guy ropes. There is a bit of a green tone still on the ropes over the top of the tarp, but I will do a second coat and then drybrush highlights on the rope overall - should solve that issue.
 |
| Still a greenish tinge to those ropes... |
Until next time,
Cheers,
Dave

No comments:
Post a Comment