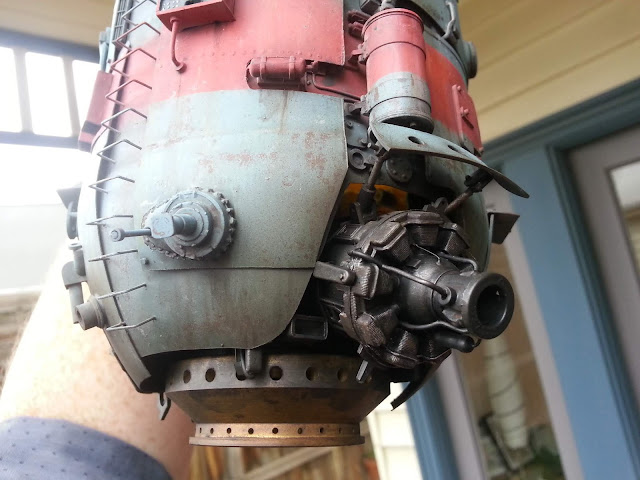
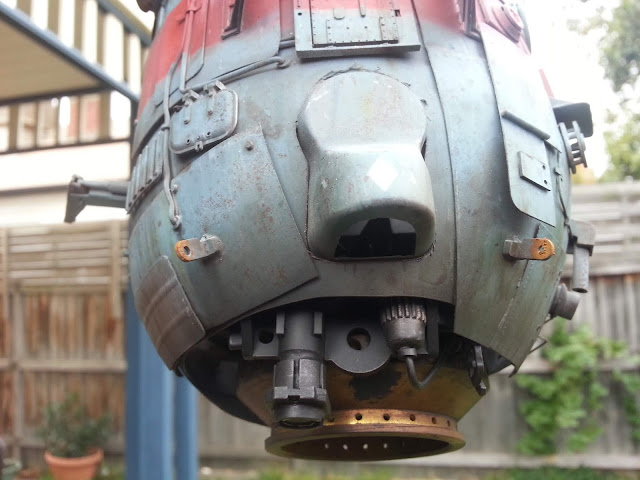
I mentioned last week that I had installed the bottom engine on The Seahorse, but I didn't have any photos that showed it well. On the weekend I had a crack at airbrushing some dirty exhaust stains around the bottom of the hull, and I made sure to take some photos of the bottom business end of things this time.
I think it looks suitably grungy and purposeful and solid. I've toned the bright brass of the engine ring (i.e. gas stove ring originally) back a bit as well with some more staining and an overall wash.
Next up is glueing the side engine in place, and then comes the most nervewracking part of the whole build - attaching the hull to the diorama base via two upright wires that are meant to look like a cord dangling over the edge of the hull.
What am I worried about?
I'm worried about how convincingly I can put natural bends into this wire - it's pretty solid stuff, a thick gauge was necessary to make sure it could take the weight of the whole model.
I'm also worried that the wires will bend once I do attach the whole assembly to them, and it will slowly sink! That would officially be A Bad Result.
Time to grit my teeth and just do it...
Cheers,
Dave


No comments:
Post a Comment