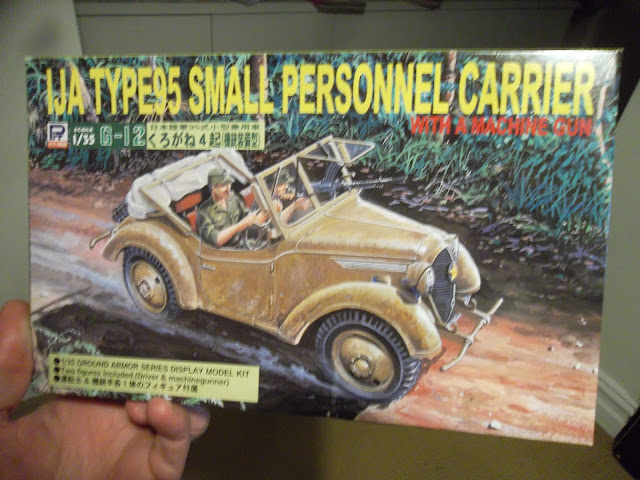
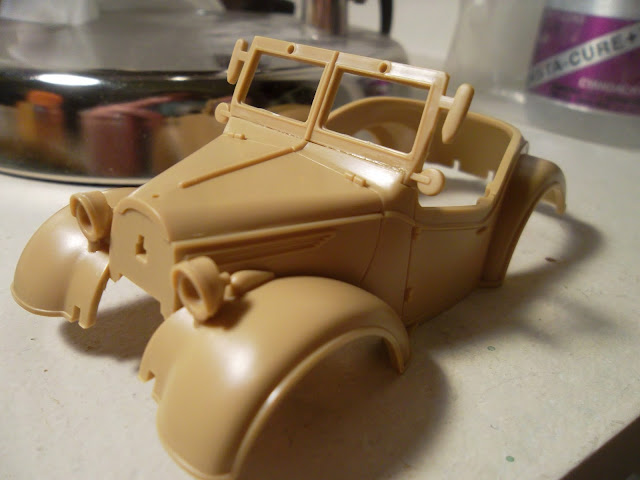
This is the first post in a multi-part series on how I built my 1/35 Japanese staff car diorama.
The kit is a Kurogane Type 95 staff car, otherwise called an "IJA Type95 Small Personnel Carrier" made by a Japanese manufacturer called Pit Road. I bought it in a hobby shop (Mr Hobby, I think?) in Tokyo when I was on holidays there in mid-2013. It cost me 2350 Yen, about AU$20. It sat on my To Build shelf for a couple of years, and then I decided to tackle it as I wanted to make something a little bit unusual compared to the normal Jeeps and Kubelwagens you see.
It's a very cute little machine. It's tiny - only about 100mm from front to back bumper.
 |
| They called it a "Small personnel carrier" - and yes, the figures which came with the kit were indeed very, very small... |
 |
| Bargain. I've not seen this kit anywhere else since Tokyo! |
 |
| It does look like Noddy's car. |
 |
| Neat build, trouble free. |
The first piece of personalisation: I added dents to the front fenders, it just looked too pristine and too much like a Noddy Car. This needed to have some credibility, needed to have seen a tough war!
I did this using incense - see my post in September if you'd like to learn how, there is a video tutorial and everything: click here.
 |
| Check out that sweet dent in the fender! This kind of detailing really sets your model apart from a plain old build straight from the box. |
Then I airbrushed the entire car in Tamiya enamel Dark Iron XF-84. This was the base coat, to look like bare metal, which I would chip back to.
 |
| First coat - bare metal. |
 |
| I love using Tamiya's Dark iron . |
Next, I realised that the interior needed a little love. It was too plain, too boring.
So I jumped online, found some references of the interior of a Kurogane (my god, you can find everything online, absolutely everything) and scratchbuilt a glovebox, passenger grab handle, a couple of missing switches on the dashboard, and some detailing for the otherwise very boring doors.
 |
| Scratchbuilt details in white styrene strip. |
 |
| They really do elevate the interior. This was not going to have a roof, it needed detail inside. |
I hope this is of interest!
Check back next time to see Part II, where I used the hairspray technique to chip and weather the car's overall khaki paint scheme.
Cheers,
Dave

No comments:
Post a Comment